Cold working, did a couple days of that but it wasn't doing the trick, and it takes forever to get to a finished product. Then I remember that, I am perhaps best at production wood working, two years of building big furniture grade crates 40 hours a week and that is not quite 10000 hours but it's a ways towards mastery. So I snagged some of the wood from the junk pile by my neighbors house and bought a 22 dollar piece of plywood and made a big old mess. I am gonna walk you through the whole process of one of the tables I made.


Then I ripped the plywood down into an obsessive amount of 1 and 3/8 inch strips. The planner in our shop doesn't work right now so I was just planning on laminated them together and using the table saw to get them down to the one inch thickness I wanted.

Next I used a staple gun and a bunch of wood glue and laminated the strips together. The clamps are not strictly needed but they will squeeze any tiny gaps left after the stapling and gluing process.

I trimmed the my plywood end grain board I had made to fit a piece of glass I had cast this spring.


More gluing, stapling and clamping

Now I put the base of the table together, you don't see the connections so I glues, screwed and stapled.


Sometimes things are easier to assemble upside down.

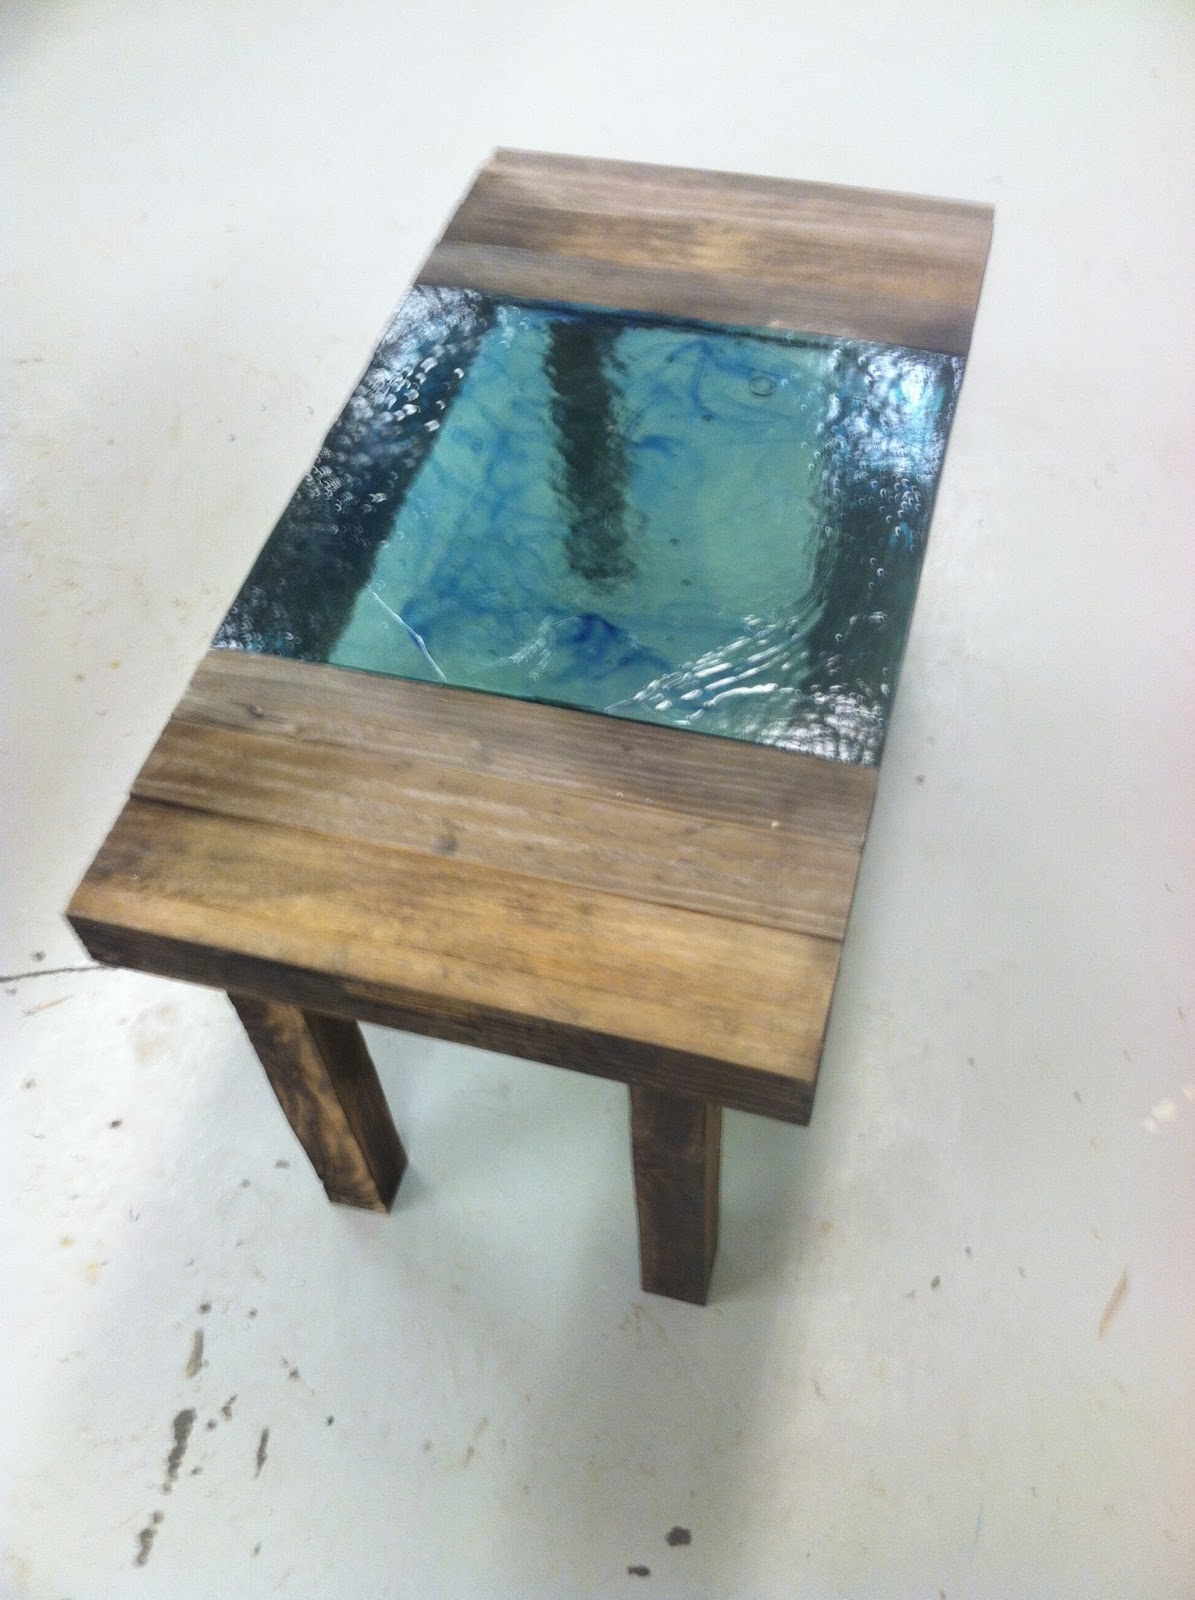
It needs is a bit more sanding and a light stain and some poly. Oh and photographs not taken with my phone.

No comments:
Post a Comment